Get in touch
812-758-4143

Winter is THE Time to Schedule Your Tree Removal

Tyler Siddons • December 1, 2023

Winter is a great time to get rid of those trouble trees.

Winter can be a quiet season for many outdoor activities, but it's the perfect time for tree removal and stump grinding, especially for a professional service like T&D Outdoor Services. Here's why this chilly season is ideal for these essential maintenance tasks.


1. Visibility and Accessibility

Winter, with its bare trees, offers better visibility for arborists. Without leaves obscuring the branches, it's easier to assess the health and structure of the tree. This clear view is crucial for identifying potential hazards and planning the safest removal strategy. Furthermore, the frozen ground in winter helps heavy equipment move around your yard without causing damage to the lawn or surrounding landscaping.


2. Safety Concerns

Decaying or dead trees become more hazardous in winter due to the weight of snow and ice, as well as the stress of winter winds. Removing these trees before they become a safety hazard is a proactive step. It's not just about protecting property; it's about ensuring the safety of your family and the community.


3. Health of the Tree

Winter is a dormant period for most trees. This dormancy minimizes stress on the tree during removal. For those trees that are diseased or infested, winter removal prevents the spread of pests or diseases to other healthy trees, which are more susceptible during the growing seasons.


4. Preparing for Spring Growth

Removing trees and grinding stumps in winter prepares your yard for spring. It opens up space for new plantings and landscaping projects, ensuring that you're not dealing with tree removal when you should be focusing on planting and growth. This foresight can lead to a more vibrant and healthy garden come spring.


5. Easier Scheduling and Potential Cost Benefits

Since winter is often a slower season for tree services, scheduling with T&D Outdoor Services can be more flexible. This convenience means you can plan tree removal when it best suits your schedule. Additionally, some companies offer winter discounts, making it a cost-effective time for tree and stump removal.


6. Environmental Impact

Winter tree removal has a lesser impact on the surrounding environment. Birds and wildlife are less likely to be nesting in trees, and the dormant state of your garden means there's less risk of damaging undergrowth or neighboring plants during the removal process.


Tree removal and stump grinding are critical aspects of maintaining a healthy and safe outdoor environment. Winter offers unique advantages for these tasks, from improved visibility and accessibility to minimizing the impact on the tree and the surrounding environment. T&D Outdoor Services is equipped to handle these challenges, ensuring a safer and more beautiful outdoor space for the upcoming spring. Don't wait until the busy spring or summer months; winter is the right time to schedule these essential services.  Give us a call at 812-758-4143 to schedule your quote.
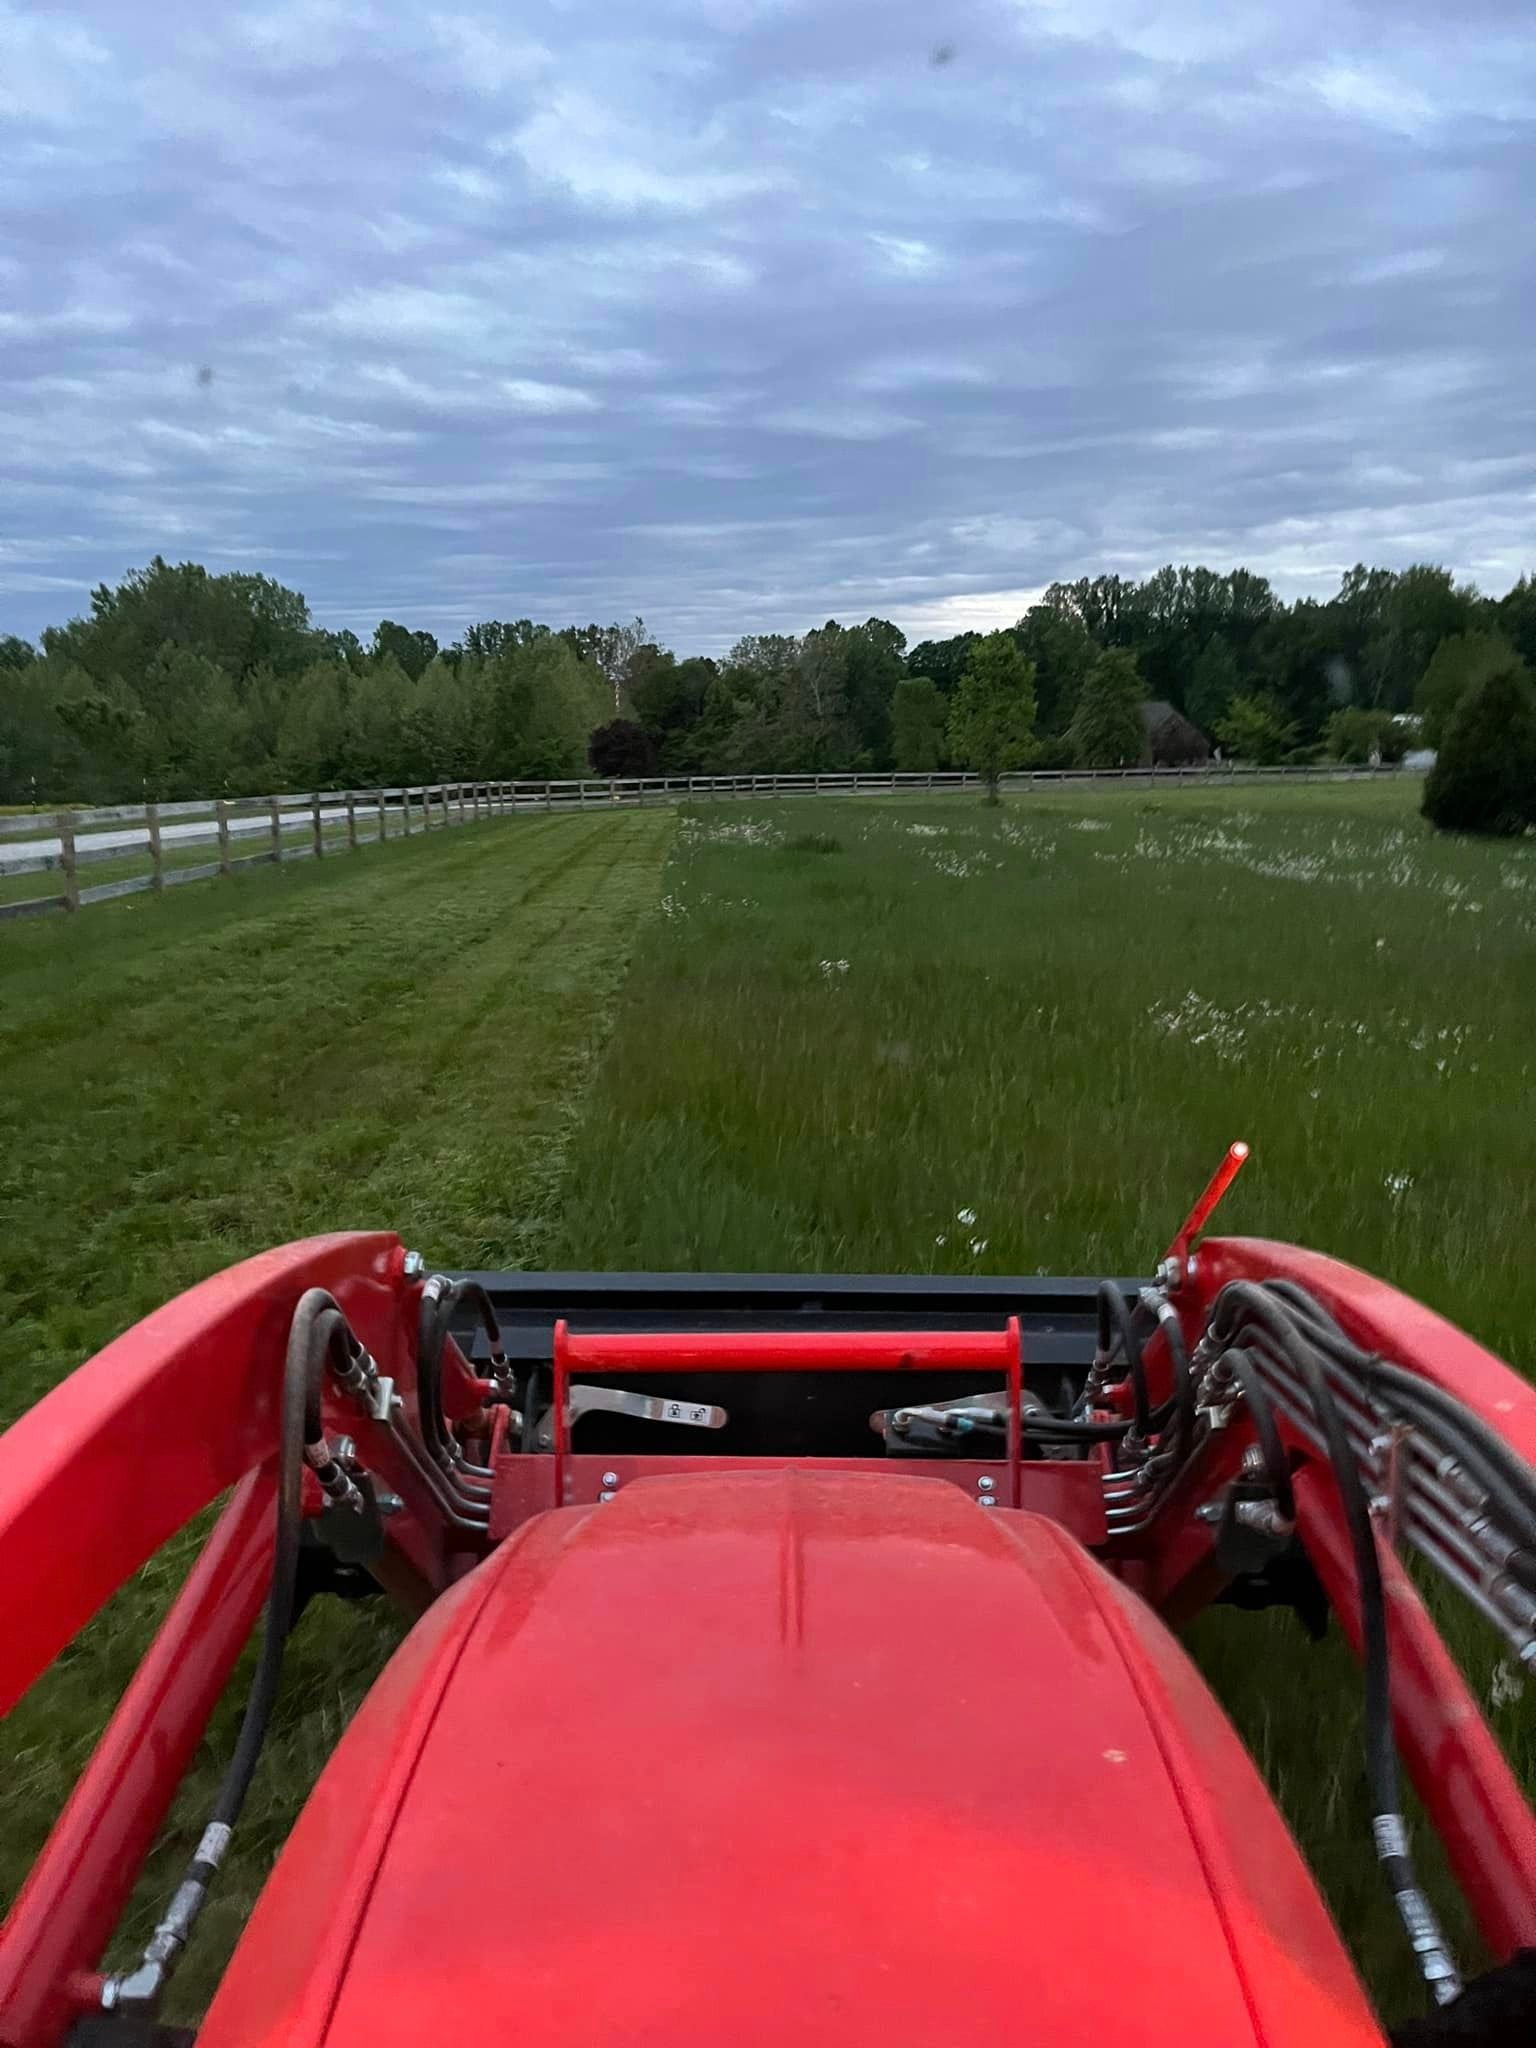

a red tractor is driving through a grassy field .
February 2, 2024
As the chill of winter begins to fade and the first green shoots of spring emerge, it's time to think about waking your property up from its winter slumber. For homeowners and property managers alike, the transition into spring is a critical period for outdoor maintenance and preparation. Here, we delve into a comprehensive guide tailored for those looking to rejuvenate their landscapes and ensure their properties are primed for the warmer months ahead. T&D Outdoor Services, your trusted partner in outdoor contracting, brings you expert insights and actionable tips for an effective springtime property clean-up. Start with a Plan Before diving into the physical labor, it’s essential to assess your property thoroughly. Walk around and take note of what areas need the most attention. Whether it’s clearing debris from flower beds, pruning dead branches from trees, or repairing hardscapes affected by the winter freeze, identifying these tasks early will help you organize your clean-up more efficiently. Clear Out Debris and Dead Vegetation Winter can leave a layer of debris across your property, including fallen branches, leaves, and dead plants. Begin your clean-up efforts by removing this debris. This not only tidies up your space but also prevents pests and diseases from proliferating. Use a rake for leaves and a pruner for dead branches and vegetation. For larger properties or significant amounts of waste, consider renting a dumpster or hiring a professional clean-up crew like T&D Outdoor Services to handle the heavy lifting. Prune and Trim Early spring is the perfect time for pruning most shrubs and trees, as it encourages healthy growth and flowering. Pruning also helps to shape your plants and remove any damaged or diseased branches that may have occurred over the winter. If you’re unsure about how to prune specific plants, or if you have large trees that need attention, it might be worth consulting with a professional to avoid accidental damage. Tackle Weeds Early As temperatures start to rise, weeds begin to sprout. Getting ahead of weed growth is crucial for maintaining a healthy and beautiful landscape. Early intervention means less work throughout the rest of the season. Consider applying a pre-emergent herbicide to prevent weed seeds from germinating, or opt for mulching garden beds to suppress weed growth and retain soil moisture. Refresh Mulch Mulch not only helps control weeds but also protects plant roots, retains soil moisture, and adds a polished look to your property. Check the existing mulch in your plant beds and around trees; if it’s decomposed or thinning, it’s time to add a fresh layer. Remember, too much mulch can suffocate plants and trees, so maintain a layer that’s about 2-3 inches thick. Repair Hardscapes The freeze-thaw cycles of winter can cause damage to hardscapes, including walkways, patios, retaining walls, and driveways. Inspect these areas for cracks, chips, or other signs of wear. Early repairs can prevent further damage and maintain the safety and aesthetics of your property. T&D Outdoor Services specializes in repairing and constructing hardscapes, ensuring durability and visual appeal. Lawn Care Your lawn might look a bit worse for wear after the winter months. Rake away any thatch to improve air and nutrient flow to the soil, and consider aerating if the ground is compacted. Early spring is also a good time to overseed any bare spots. As the season progresses, establish a regular mowing schedule, keeping the grass at an optimal height to promote healthy growth. Prepare Your Garden Beds If you have flower beds or a vegetable garden, early spring is the time to prepare them for planting. Turn over the soil, mix in fresh compost to replenish nutrients, and outline your planting strategy for the season. Starting with a clean, prepared bed will make your gardening efforts more successful and enjoyable. Inspect and Maintain Outdoor Tools and Equipment Before the season gets into full swing, ensure all your gardening tools and equipment are in good working order. Sharpen blades, oil moving parts, and check that everything is clean and functional. This preparation includes your lawn mower, trimmer, pruners, and any other tools you plan to use. Consider Professional Services Depending on the size of your property and the extent of the clean-up required, it might be beneficial to enlist the help of professionals. T&D Outdoor Services offers a comprehensive range of services to get your property spring-ready, from debris removal and lawn care to hardscape repair and tree services. Leveraging professional expertise can save time, prevent injury, and ensure that your property is cared for properly. Preparing your property for spring is about more than just aesthetics; it’s about setting the stage for healthy growth and minimizing maintenance challenges throughout the year. By following these steps, you can ensure your outdoor spaces are vibrant, welcoming, and ready for the season ahead. Remember, the effort you put in now will pay dividends. As always, we are happy to partner with you to keep your property looking great!
January 9, 2024
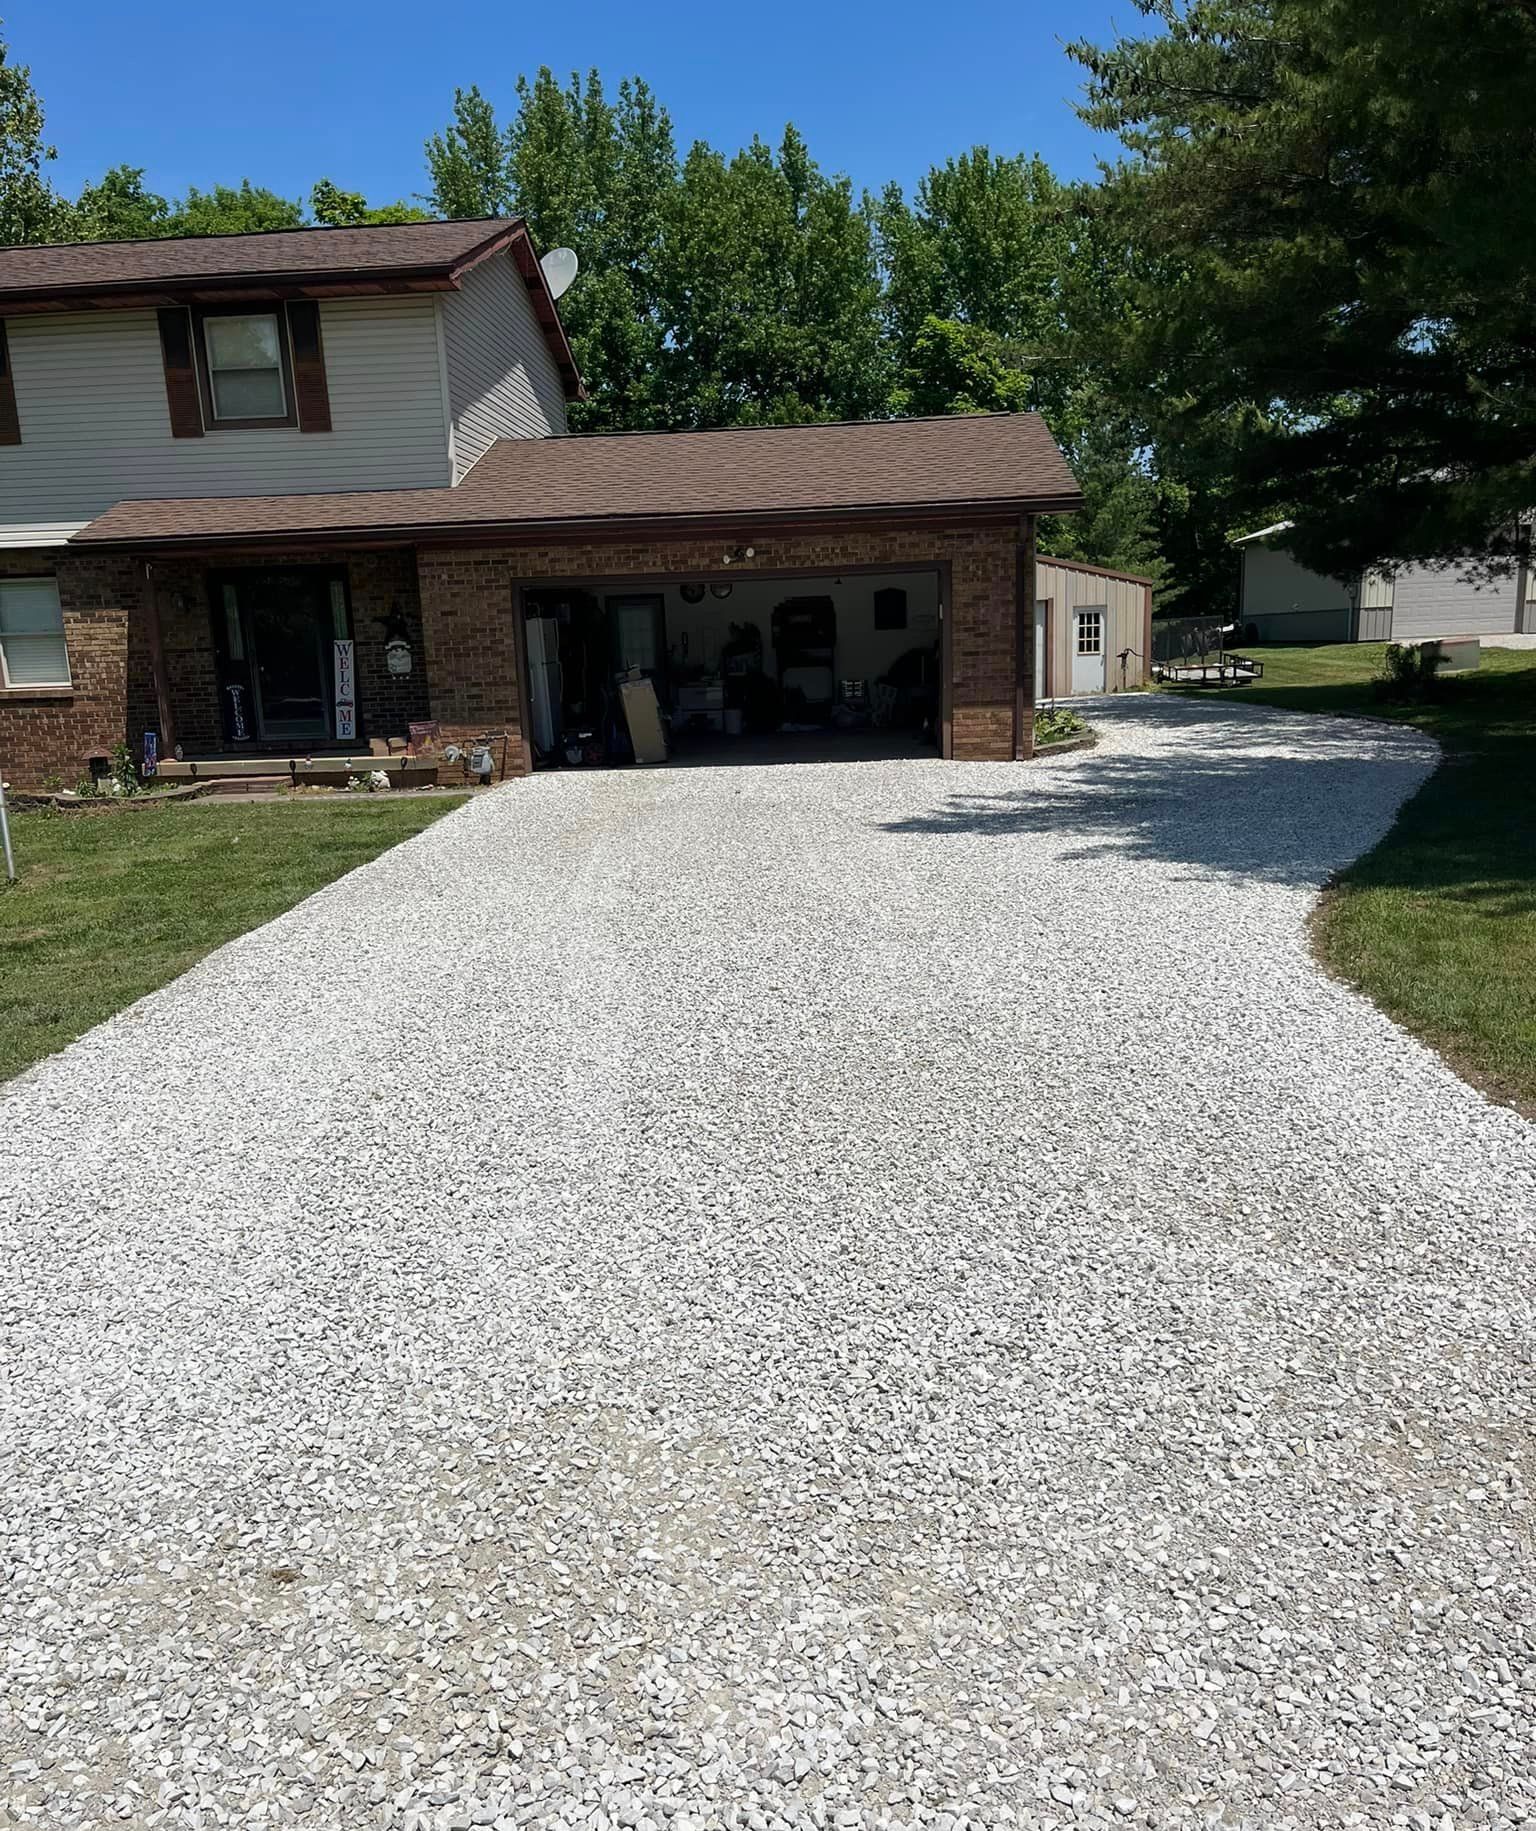
Constructing a gravel driveway can be an excellent way to improve your home's curb appeal and functionality. Gravel driveways are popular due to their affordability, ease of installation, and low maintenance requirements. This comprehensive guide, crafted by T&D Outdoor Services, will take you through the steps to construct a durable and aesthetically pleasing gravel driveway. Step 1: Planning and Preparation Before you begin, it's essential to plan your driveway. Consider the following: Driveway Size and Shape: Determine the length and width of your driveway. A typical driveway is about 10-12 feet wide, but you might want wider sections for parking or turning. Local Regulations: Check with your local municipality for any permits or regulations. Drainage: Ensure your driveway has a slight slope for water drainage. Typically, a slope of 1% to 2% is sufficient. Materials: Choose the right type of gravel. Common types include pea gravel, crushed stone, and quarry process stone. Step 2: Marking the Area Use stakes and string to mark the driveway area. This outline will guide you during excavation and help maintain the shape and dimensions you desire. Step 3: Excavation Excavate the area to a depth of about 8-12 inches. This depth allows for a base layer and a couple of inches of gravel. Remove all grass, roots, and large rocks. Step 4: Laying the Foundation A strong foundation is crucial for the longevity of your driveway. Geotextile Fabric: Laying a geotextile fabric can prevent weeds and help with drainage. Base Layer: Use larger crushed stone as the base layer, about 4-6 inches deep. This layer should be compacted using a tractor, roller or compactor. Step 5: Edging Edging is not mandatory but recommended. It keeps the gravel in place and defines the driveway's boundaries. Materials for edging can be metal, wood, stone, or plastic. Step 6: Applying the Gravel Now, spread the gravel over the base layer. Aim for a thickness of about 2-4 inches. More than this can make driving and walking difficult, while less might not provide enough coverage. Step 7: Compaction and Leveling Once the gravel is in place, it needs to be compacted and leveled. This process ensures a stable surface and helps to prevent ruts and erosion. Step 8: Maintenance Gravel driveways require some maintenance to keep them looking great and functional: Rake Regularly: Rake the gravel to keep the surface level and to remove any debris. Weed Control: Apply weed killer or manually remove weeds as they appear. Add More Gravel: Over time, you might need to add more gravel to maintain the driveway’s surface. Conclusion Constructing a gravel driveway is a straightforward process that can significantly enhance your property's appearance and functionality. By following these steps, homeowners can create a durable and attractive driveway that will serve them well for years to come. For professional advice, planning, and execution, T&D Outdoor Services is always ready to lend our expertise to ensure your gravel driveway meets your expectations in both aesthetics and functionality. Drop us a note or give us a call to get your free quote!
Share by: